Skip’s Tips > Newsletters > Selecting Wood
Making Chisels - Hardening and Tempering Tool Steel
A working knowledge of hardening and tempering steel is required to make a chisel that will maintain a cutting edge to endure the abrasive effects of wood.
Skip Walters

Sign up to receive insider tips from our Master Gunsmith!
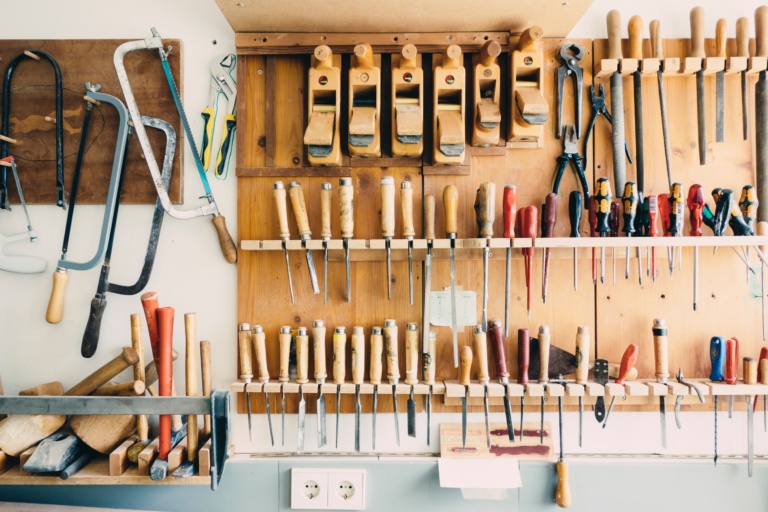
Chisels are extensively used by gunsmiths for cutting wood and soft steel. The gunstock wood is usually of a medium hardness, so a sharp wood chisel is required to obtain a smooth, exact cut. A working knowledge of hardening and tempering steel is required to make a chisel that will maintain a cutting edge to endure the abrasive effects of wood.
Basically, there are two main types of carbon steel. Low carbon steel is the steel commonly used for nails, coat hangers, Grade 2 bolts and anything that can be slightly bent without breakage. This type of steel is used when stress and strain are not a factor to be considered in the application.
High carbon steel is the other type of steel. It is often called tool steel because the carbon content is high enough to enable it to be hardened and used to make cutting tools. This type of steel is used for files, chisels, drill bits, end mills and lathe bits. However, once this steel is hardened, it must be drawn or tempered for use as a chisel, so it is not brittle. For example, files are not tempered. Files are hard and can be as brittle as glass.
We will start with a dull metal file as raw material, as dull files can be found at yard sales everywhere and can be bought for pocket change.
First, the metal must be softened so it can be worked easily. This is done by annealing the file. Annealing steel is accomplished by heating and forcing the steel to cool very slowly. Heat the file to a cherry red color (about 1200 F) and bury the hot steel in a bucket full of clean, fine sand. After about 2 hours, the metal should be cool and soft enough to be shaped with a good file.
Shape the metal to the desired shape of the chisel to be made. Include a 30 degree bevel for the cutting edge. Do as much shaping as possible while the metal is softened, because it will take less time to sharpen and hone a good cutting edge after the metal is hardened and tempered.
To harden the chisel, heat the metal to cherry red and quench it in cool, clean water. After the chisel is removed from the water, it will be extremely brittle. Be careful and polish all surfaces with sandpaper or emery cloth until the natural color of the metal is visible.
The final heat treating process is tempering the metal. Vertically mount or hold the metal with the cutting edge upward. Slowly heat the lower part of the metal until it begins to change color. The color will gradually make its way toward the cutting edge. When the straw or very light brown color arrives at the cutting edge, instantly quench the metal in clean, clear 20 wt oil.
If the blue color made it to the cutting edge, repeat the hardening and tempering process.
The cutting edge is ready to be honed on a soft and/or a hard Arkansas stone. When the honed 30 degree bevel meets the flat bottom of the chisel, a slight burr will develop. When the burr extends completely across the cutting edge, remove the burr with a strip of leather or razor strop. The cutting edge is complete.
The handle for the chisel can be made of wood, plastic or any other durable material.
As one can imagine, a Gunsmith has to use many different sizes and shapes of chisels, gouges and scrapers. All are made in the same manner. Individually, each tool could cost $25 to $75. The cost depends upon size, shape and quality of steel. I prefer the hand-made, excellent tools for pocket change and a little time.


